
How to Install Acoustic Panels | Feltcombo Installation Guide
2025-10-06 17:33
How to Install Acoustic Panels
A practical, step-by-step guide for DIYers and pros on how to install acoustic panels, how to install soundproof panels, and best practices for wall and ceiling applications.

Methods for Installing & Hanging Acoustic Panels
There are two widely used approaches for attaching panels: the soundproof adhesive method for a clean, glue-up finish, and the Z-clip method which makes panels removable for access or repositioning. Both techniques work well for felt, foam, and fibrous panels; choose based on how permanent you want the installation to be and whether you may need to rearrange or service behind the panel later.
Tools Needed for Acoustic Panel Installation
Most acoustic panel installs require only basic tools:
Level, tape measure and pencil
Sandpaper or scuff pad for surface prep
Construction adhesive (recommended for permanent bonds)
Screwdriver / drill and screws for Z-clips
Stud finder for heavy panels or ceiling work
These items let you handle both how to put up soundproof sheet and more substantial wall soundproofing panel solutions.
How to Install Sound Panels: Step-by-Step Instructions
Below are two clear workflows — one for adhesive installs and one for Z-clip hanging sound panels.
Soundproof Adhesive Method

Prepare the surface. Lightly sand glossy or painted drywall and remove dust — a clean surface ensures a strong bond.
Mark and level. Use a straight-edge level and pencil to outline the panel location so your array stays square.
Fix leveling brackets (optional). Small leveling tabs help align the panel while adhesive cures.
Apply adhesive. Add a perimeter bead about 2" from the edge, then an X pattern and several dollops in the center. This provides even contact without over-squeezing adhesive out the sides.
Mount and hold. Press the panel in place and hold or brace for the first few minutes. Allow adhesive to cure per manufacturer directions (usually 24 hours).
This method is ideal when you want a low-profile finish and are confident about the panel layout. It answers the common question of how to install acoustic panels in living rooms, studios, and offices.
Z-Clip Method
Mark and drill. Mark the wall and panel locations, then attach the wall Z-clip to the studs or appropriate anchors.
Secure panel clips. Screw the mating Z-clip to the panel’s back so the two halves will securely interlock.
Hang. Lift the panel and engage the clips — the clip system locks the panel in place while remaining removable for access.
Z-clips are a robust choice for heavier acoustic slabs and for installations where you expect to rearrange or service behind panels in the future. This is the recommended route for commercial spaces or rental units.

Tips for Installing Panels on Ceilings and Walls
Plan the Placement
Identify reflection points (where sound first bounces) and space panels to cover direct reflections. Avoid clustering all panels in one corner — even distribution improves overall absorption.
Consider the Design
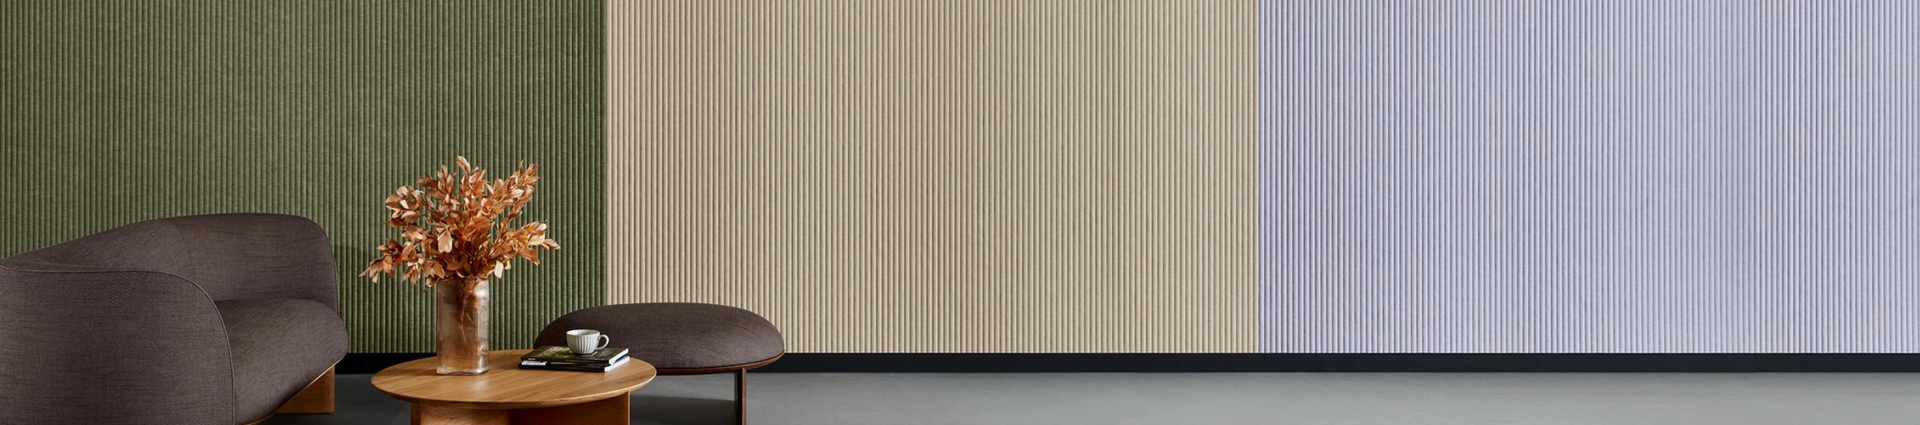
Acoustic panels come in many finishes and colors. Use symmetry and pattern to integrate panels into the room design rather than treating them as afterthoughts.
Leave an Air Gap
A small air gap behind panels increases low-frequency absorption. While mounting flush works, leaving a 0.5–2 inch gap often yields better broadband control. Be mindful that excessive gaps can alter mid-frequency performance.
Practical Notes on Soundproofing Materials
If your goal is aggressive wall treatment for impact noise or transmission loss, combine acoustic panels with additional mass or decoupling strategies — a single wall soundproofing panel may reduce reverberation but has limited effect on airborne transmission by itself. For deep treatments, consider consulting our technical article on Sound Transmission Class (STC) ratings.
For fundamentals on absorption and how panels work, see our primer How Do Acoustic Panels Really Work.
Extra Tips: How to Put Up Soundproof Foam Safely
Soundproof foam is light and easy to adhere, but avoid aggressive adhesives that can degrade foam. Use low-VOC panel adhesives or 3M command-style strips for temporary installs. When mounting foam on ceilings, always use mechanical backups (screws or clips) for safety.
Get Your Acoustic Panels and Installation Tips From Feltcombo Today
Feltcombo offers a wide range of decorative and high-performance panels plus detailed installation support. Whether you need guidance on how to install soundproof panels, want advice on hanging sound panels, or are planning a commercial ceiling array, our team can help you choose the right product and method for clean, reliable results.
If you’d like project advice, contact Feltcombo for a personalized recommendation and installation checklist.
Related News
Read More >-
![Eco-Friendly Acoustic Panels 2026 | GRS Recycled PET]()
Eco-Friendly Acoustic Panels 2026 | GRS Recycled PET
Feltcombo's GRS-certified PET acoustic panels use ≥50% recycled content and are recyclable after use. Support LEED & BREEAM credits. Factory-direct, full sustainability documentation.
-
![Fire-Rated PET Acoustic Panels | ASTM E84 Class A Certified]()
Fire-Rated PET Acoustic Panels | ASTM E84 Class A Certified
Feltcombo supplies ASTM E84 Class A, EN13501-B and BS476 Class 1 certified PET acoustic panels. Original test reports available. Factory-direct from China & Thailand.
-
![24mm PET Acoustic Panels | Studios, Cinemas & Bulk Projects]()
24mm PET Acoustic Panels | Studios, Cinemas & Bulk Projects
Source 24mm PET acoustic panels from Feltcombo's China & Thailand factories. Custom sizes, Class A fire rating, verified NRC data, and stable bulk supply for high-spec projects.
-
![12mm PET Acoustic Panels: NRC, Size & Fire Ratings Guide 2026]()
12mm PET Acoustic Panels: NRC, Size & Fire Ratings Guide 2026
Specify 12mm PET acoustic panels with confidence — NRC performance vs 9mm, 1225×2850mm format, BS476 Class 1 update, 59 stock colors, and China & Thailand factory supply explained for B2B buyers.
-
![9mm PET Acoustic Panels: Specs, Fire Ratings & Stock Guide 2026]()
9mm PET Acoustic Panels: Specs, Fire Ratings & Stock Guide 2026
Everything B2B buyers need on 9mm PET acoustic panels — 1500 vs 1800gsm, ASTM E84 Class A & EN13501 Class B fire ratings, 39 stock colors, and China vs Thailand factory quality explained.
-
![PET Acoustic Panels: The Complete Guide to Materials & Sourcing 2026]()
PET Acoustic Panels: The Complete Guide to Materials & Sourcing 2026
Everything B2B buyers need to know about PET acoustic panels in 2026 — NRC ratings, fire certifications (ASTM E84/EN13501), eco credentials, and how to source from a certified China & Thailand manufacturer.
-
![FeltCombo Presents High-Performance, Sustainable Acoustic Systems at CIFF Guangzhou 2026]()
FeltCombo Presents High-Performance, Sustainable Acoustic Systems at CIFF Guangzhou 2026
FeltCombo Presents High-Performance, Sustainable Acoustic Systems at CIFF Guangzhou 2026
-
![Do Acoustic Panels Help With Noisy Neighbours?]()
Do Acoustic Panels Help With Noisy Neighbours?
Acoustic panels won't block neighbour noise. Learn what actually works — from sound blocking wall panels to ceiling solutions — and when panels can help.


